Setting a realistic bathroom renovation budget in 2026 starts with understanding what actually drives the numbers up or down, not just the square footage of the room. Behind every bathroom renovation cost estimator are dozens of decisions about tile, plumbing, electrical work, fixtures, labor, and even hidden issues like mold or outdated wiring. In this guide, we’ll walk through 15 of the biggest cost factors; from flooring and vanity materials to permits and surprise repairs, so you can use any online estimator (including our calculator) with clear expectations and build a budget that fits your home and your goals.
1. Tile Flooring and Wall Options
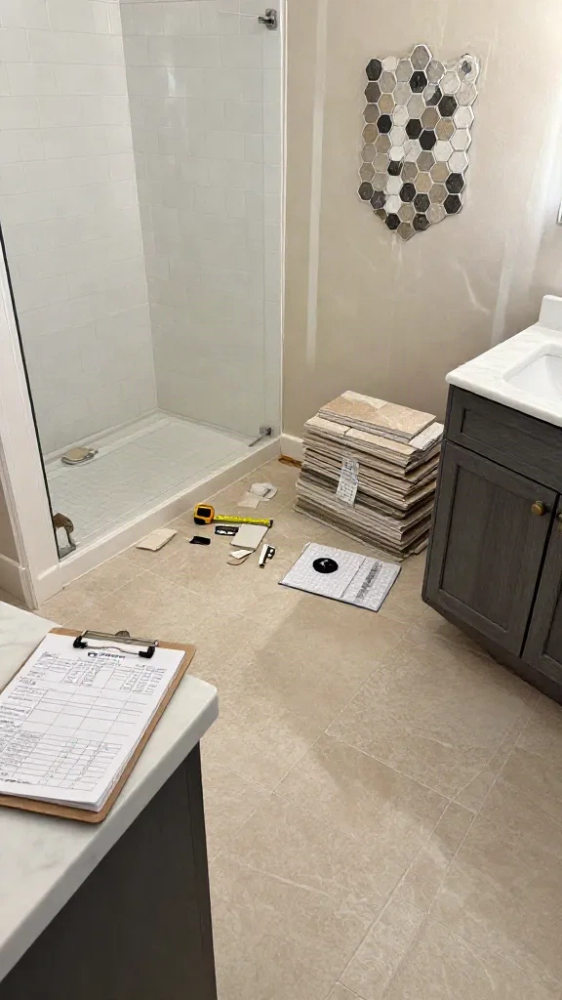
Choosing the right tile for your bathroom renovation is usually the biggest factor in how fast your budget disappears. Material choice sets the baseline, with ceramic sitting comfortably at the budget-friendly end and natural stone pushing costs much higher.
Material | Price per Sq Ft | Pros | Cons |
Ceramic | $3 - $7 | Affordable, easy to cut, wide variety of styles. | Less durable, can chip over time. |
Porcelain | $5 - $15 | Extremely durable, water-resistant, great for heavy traffic. | Harder to cut, heavier weight requires a strong subfloor. |
Natural Stone | $10 - $30+ | Unique luxury look, adds high resale value. | Requires regular sealing, stains easily, high maintenance. |
Tile size also plays a sneaky role in your final bill. Large format tiles look super modern and mean fewer grout lines to scrub, but they require a perfectly flat subfloor and specialized cutting tools.
Small tiles or mosaics usually cost more to install because setters spend hours meticulously spacing every little piece. They are fantastic for shower floors because the extra grout lines provide natural slip resistance when things get wet.
Labor complexity will eat up your cash faster than the material itself if you want fancy details. Building custom shower niches, adding decorative mosaic borders, or laying tiles in a herringbone pattern takes way more time and skill.
If you want to save money without sacrificing style, splurge on a gorgeous tile for a small focal point like the shower wall. Keep the rest of the room simple and budget-friendly so you get a high-end look without emptying your savings account.
Ready to estimate your project?
See what your bathroom remodel could cost based on your ZIP code and project scope.
2. Custom Plumbing and Pipe Work
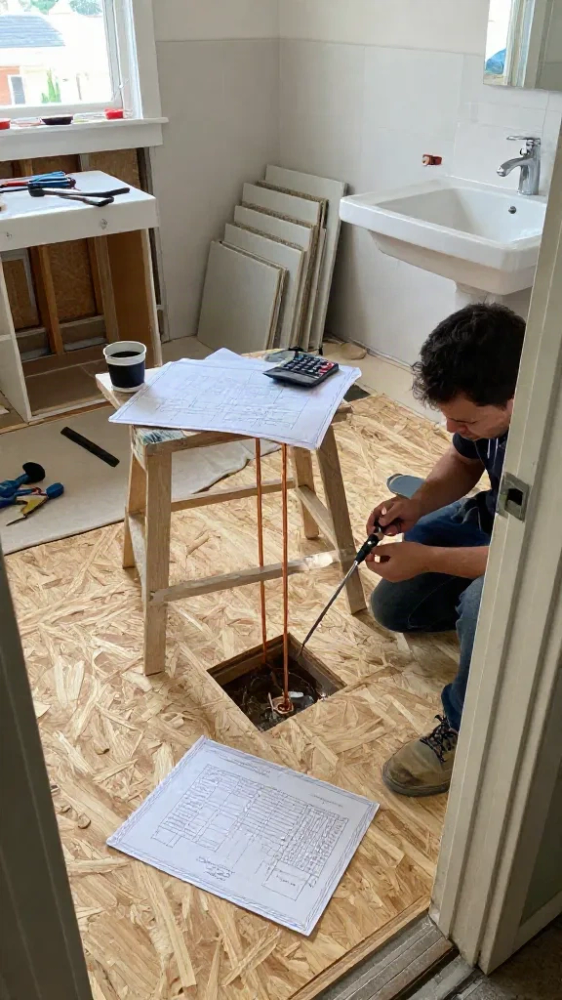
Custom plumbing and pipe work in a bathroom renovation means ripping out the old hidden infrastructure and configuring new supply and drain lines to fit your exact layout. It is the behind-the-scenes skeletal system that keeps water flowing in and waste flowing out efficiently.
This phase often eats up a huge chunk of the budget because it requires opening up walls and tearing up subfloors. You are paying for skilled labor, heavy-duty materials, and hours of precise routing rather than just surface-level finishes.
Keeping your toilet, sink, and shower in their exact original spots keeps your labor bills relatively low. Relocating just one of these fixtures means cutting into joists, rerouting cast iron or PVC pipes, and restructuring vents, which drives up the price fast.
If your home is more than a few decades old, you will likely need to replace corroded galvanized steel pipes with modern copper or PEX. Ignoring this step means your brand-new tile could get ruined in a few years when an ancient pipe finally springs a leak.
Adding luxury features like a second vanity sink, a bidet, or custom shower body sprays requires entirely new supply capacity. Your home's main water supply lines might even need an upgrade to handle the increased water pressure and volume.
Renovation Scope & Cost Range
Fixture swap in same location:
$500 - $1,500
Relocating a toilet or shower:
$2,500 - $5,000
Full replumbing of bathroom:
$4,000 - $8,000+
You should definitely invest in these behind-the-wall upgrades if you notice low water pressure, discolored water, or slow drains. Fixing these issues now prevents catastrophic water damage down the road.
To avoid surprise charges, always ask your plumber to inspect the interior of your walls before you finalize the project budget. Keep a ten to twenty percent contingency fund handy because opening old walls almost always reveals a hidden issue.
3. Vanity Cabinets and Countertop Materials
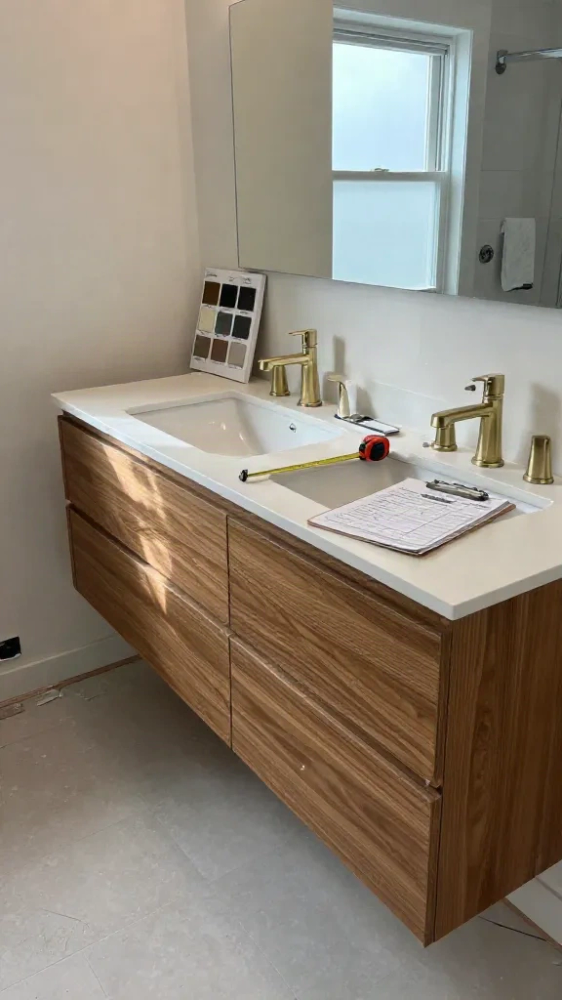
Your bathroom vanity and countertops usually eat up the biggest chunk of your renovation budget. Getting these two elements right sets the tone for the space without draining your bank account.
When you go shopping for vanity cabinets, you will run into three main categories. Stock vanities are mass produced and sit ready to ship in big box stores, making them the cheapest option by far. Semi-custom choices give you more flexibility with sizing and finishes, which bumps up the price tag. Fully custom cabinets are built from scratch to fit your exact space, but they cost a small fortune.
Countertops take a daily beating from water, makeup, and heavy traffic, so the material you pick matters a lot. Budget friendly laminate starts things off cheap, while high end stone pushes costs way up. You need to balance how much maintenance you are willing to do against how long you want the surface to last.
Here is how the common countertop materials stack up against each other:
Laminate is cheap and easy to clean, but it can peel near water. Solid surface feels smooth and hides scratches well, making it a great mid range pick.
Quartz is a favorite because it resists stains and never needs sealing. Granite gives you natural stone strength, though it needs a fresh coat of sealer every year or two. Marble looks stunning, but it scratches and stains easily if you spill acidic stuff on it.
If you want to save money, buy a stock vanity and spend your cash on a gorgeous quartz remnant for the top. On the other hand, if your layout is weird and needs a custom cabinet, scale back to a simpler solid surface or laminate top to keep costs under control.
4. High-Efficiency Showerhead Upgrades
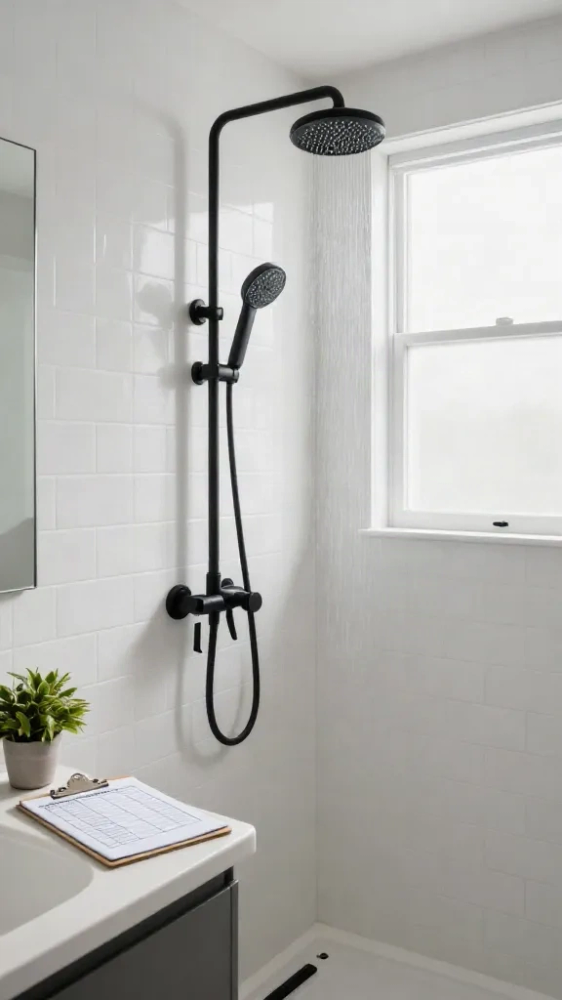
Swapping out your old showerhead is one of the easiest ways to cut your utility bills without sacrificing a good morning routine. Older fixtures easily drain two and a half gallons of water every minute, while modern efficient models use two gallons or less.
Heating all that water takes a massive chunk of your monthly energy budget. By cutting your water usage, you also lower the gas or electricity needed to keep it hot, so your savings pile up fast.
You've got a few different styles to choose from depending on your budget and how much water you actually want to save. Let's look at how the main options stack up against each other.
Type: Standard
2.5+ gpm
Price: $10 - $25
Best Feature: Cheap upfront cost
Type: Low-Flow
1.5 - 2.0 gpm
Price: $15 - $50
Best Feature: Big utility bill reduction
Type: Multi-Function
1.75 - 2.0 gpm
Price: $30 - $150
Best Feature: Adjustable spray patterns for comfort
Type: Thermostatic
1.5 - 2.0 gpm
Price: $100 - $300+
Best Feature: Precise temperature control and safety
People often worry that saving water means a weak, miserable trickle in the shower. Modern engineering solved that problem by using pressure-compensating aerators and clever nozzle designs that make a low flow feel surprisingly strong.
You can often get these upgrades for next to nothing if you check with your local water utility. Many cities offer mail-in rebates or even free hardware just for switching out old fixtures.
When you're picking one out during a bathroom remodel, check the WaterSense label to guarantee
5. Electrical Wiring and Outlet Placement
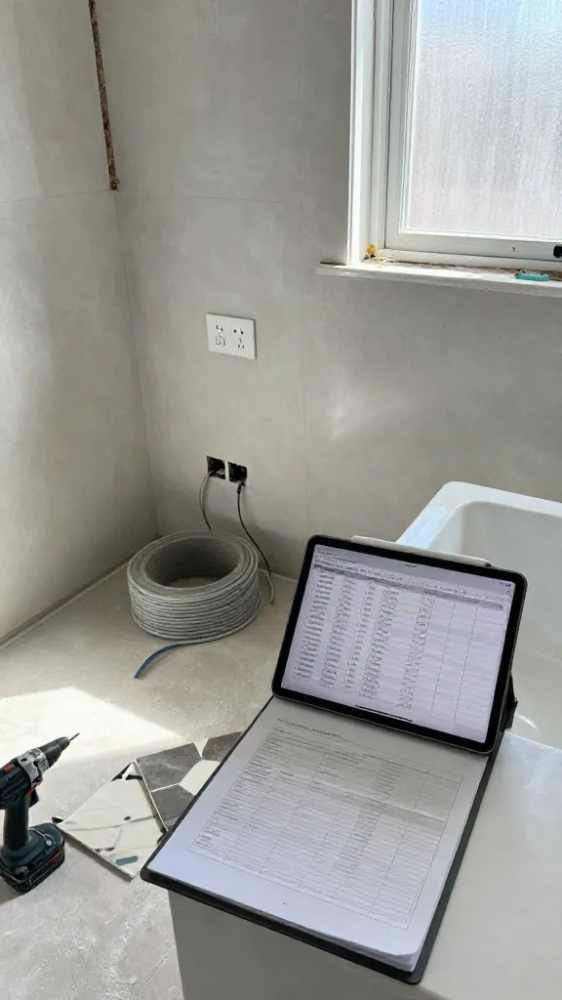
Remodeling a bathroom is exciting, but ignoring the electrical work until the walls are open is a huge mistake. Good wiring keeps you safe from shocks and ensures your hair dryer won't trip the breaker every single morning.
Modern building codes require GFCI protection on all bathroom outlets to prevent dangerous shocks near water. If you're updating an older home, bringing the wiring up to current code usually means adding dedicated circuits and tamper-resistant receptacles.
Bathrooms use a lot of power nowadays between high-wattage hair tools, heated floors, and anti-fog mirrors. Running new dedicated circuits prevents your lights from dimming when the blow dryer kicks on.
Ventilation fans, heated tile floors, and smart switches all need proper amperage and routing before the drywall goes up. Trying to add these features later will cost you double because electricians have to patch finished walls.
Electrical costs swing wildly depending on your home's age and what you're adding to the layout. Here is a rough breakdown of what you can expect to pay for common bathroom electrical tasks.
Upgrade TypeEstimated Cost
Adding a GFCI outlet$150 - $300
New dedicated circuit$300 - $800
Heated floor wiring$400 - $1,000
Code compliance overhaul$1,000 - $2,500
Map out every single electronic device and light fixture before the contractor swings the first hammer. Knowing where your electric toothbrush, bidet, or styling tools will sit saves you from painful change orders later.
6. Labor and General Contractor Fees
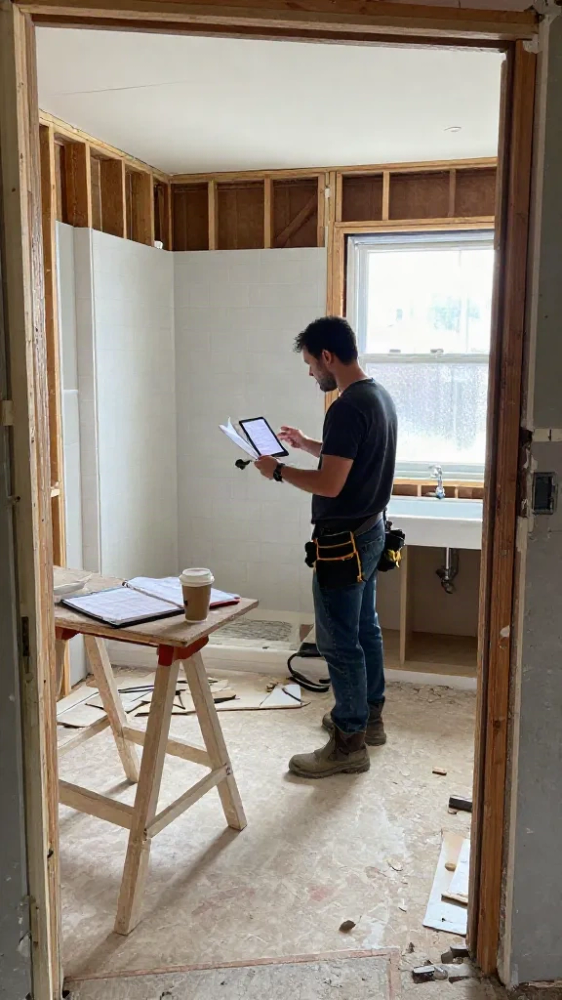
When you're footing the bill for a bathroom gut job, labor usually eats up about half to sixty percent of the total budget. Materials take up the rest, though specialty tile or custom vanities can easily flip those numbers around.
Your general contractor handles the big picture, pulls permits, and keeps the schedule moving. They bake their overhead, which covers insurance, truck payments, and office software, right into the quote alongside a profit margin that usually sits between fifteen and twenty-five percent.
The demolition crew gets things started by tearing out the old drywall, tub, and floor down to the studs. They don't charge much per hour compared to licensed pros, but it's messy work that sets the stage for everything else.
Carpenters step in next to frame out new shower niches, fix water-damaged subfloors, and build out soffits. They make sure the walls are actually square before the expensive finishes go in.
Plumbers and electricians are where your budget really starts taking a hit because they require specialized licenses. Moving a toilet drain or adding new GFI outlets isn't cheap, but cutting corners here will cause major headaches later.
Tile setters do artistic, tedious labor that dictates how the final room looks and feels. If you picked out tiny mosaic tiles or a complex herringbone pattern, expect to pay significantly more for their time.
Painters finish up the job by sealing moisture-resistant drywall and making the trim look sharp. They're usually the final trade on site before you get the keys back.
Labor costs skyrocket when you're dealing with cramped historic homes or tricky second-floor bathrooms where everything has to be hauled up narrow stairs. Custom layouts, awkward angles, and heavy cast-iron tubs also add hours of heavy lifting to the payroll.
When you're looking over contractor quotes, watch out for vague lump sums that don't break down labor and materials. A trustworthy remodeler gives you a clear line-item estimate so you know exactly what you're paying for.
7. Modern Lighting Fixtures and Sconces
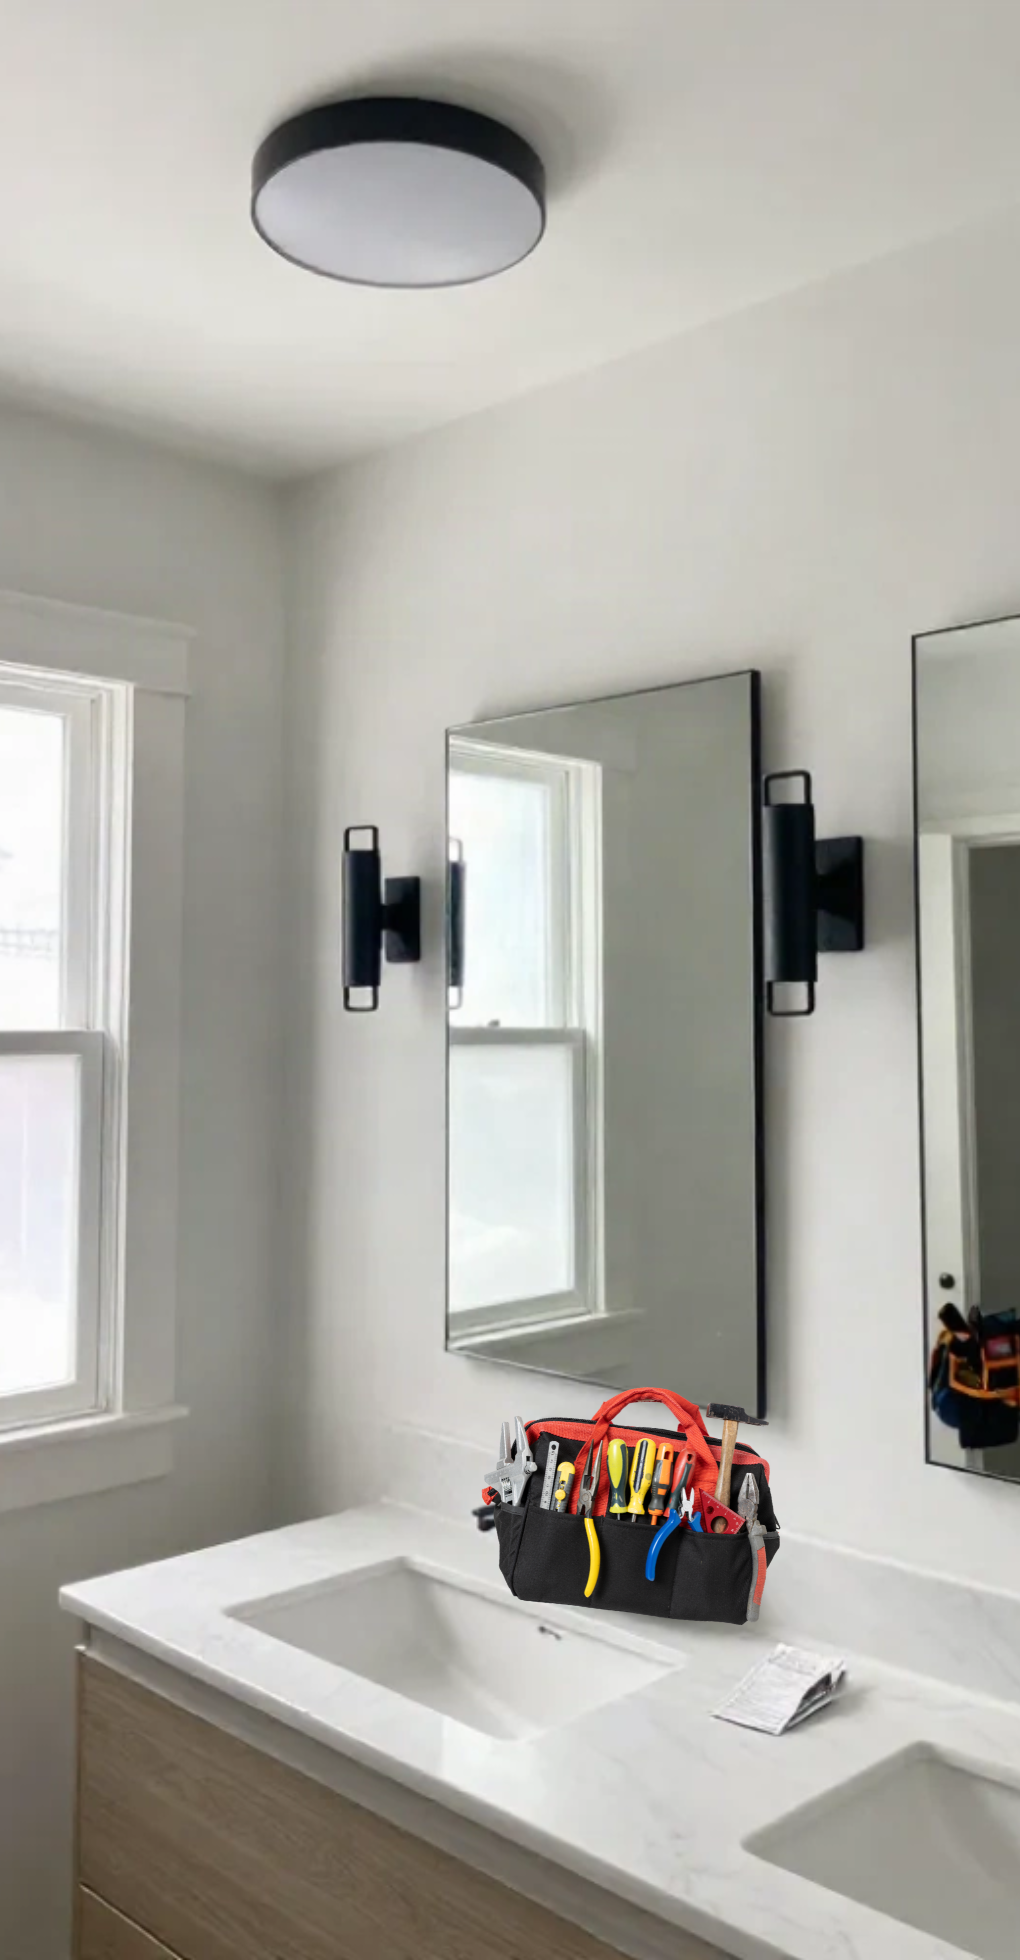
Lighting usually sneaks up on you during a bathroom remodel, but it makes a massive difference in both your budget and the final vibe. Upgrading your fixtures can instantly change a dated space into something that feels fresh and spa-like, without necessarily breaking the bank. If you don't plan for wiring early on, you might end up paying an electrician extra to rip open drywall later.
When you start shopping, you'll notice prices and installation headaches vary wildly depending on the style. Vanity lights are pretty straightforward to swap, while recessed cans require cutting holes and running new ceiling wires. Here is a quick breakdown of how the common options stack up against each other.
Vanity Lights
$50 - $300
Low to Medium
Great for face tasks, sets the style
Recessed Ceiling
$20 - $100 per can
High
Clean look, provides bright base light
Mirror-Integrated
$200 - $800+
Medium to High
Modern, sleek, shadow-free grooming
Decorative Sconces
$75 - $250 each
Medium
Adds warmth, frames the mirror nicely
Getting the ambiance right means layering your light sources instead of relying on one harsh overhead bulb. Combine ambient ceiling lights with task lighting around the mirror and maybe a soft accent light near the tub. This keeps the space functional for morning routines while letting you dim things down for a relaxing evening soak.
If you're working with a tiny powder room, stick to flush mounts and slim wall sconces that don't crowd the visual space. Large bathrooms can handle statement pieces like bold vanity bars and multiple recessed lights to eliminate dark corners. Don't crowd a small mirror with giant fixtures, or the room will instantly feel cramped.
When budgeting, make sure to set aside about ten to fifteen percent of your total bathroom fund specifically for lighting parts and labor. Cheap fixtures often look flimsy in person, so aim for the mid-range sweet spot where build quality actually matches the price tag. Always factor in the cost of an electrician if you're adding new switch locations or moving junction boxes.
8. Ventilation Fan and Ductwork Needs
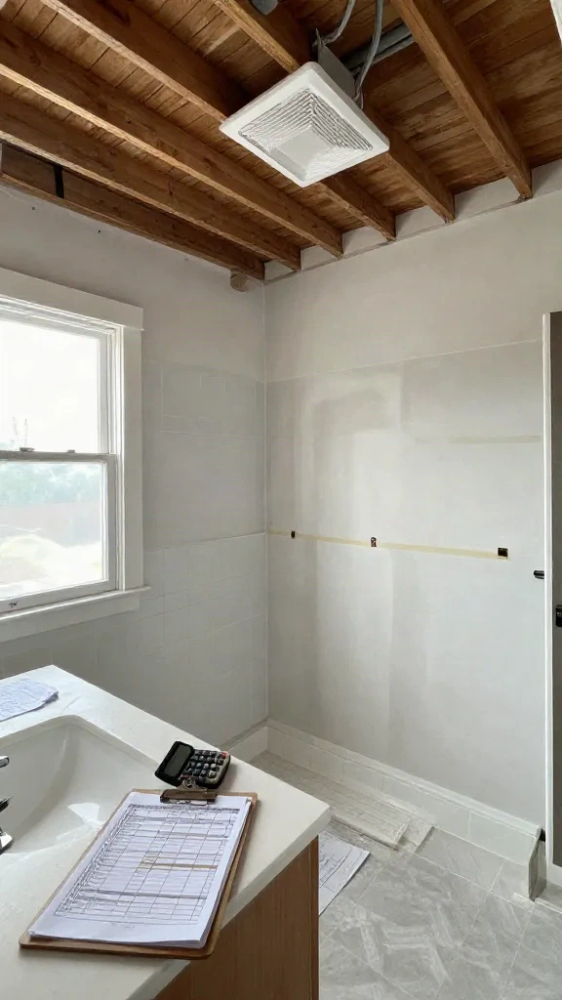
Skipping the bathroom ventilation upgrade during a remodel is a huge mistake. Without proper airflow, trapped moisture wrecks drywall and breeds toxic mold.
A good fan pulls humid air out before it peels your paint. If your current fan sounds like a jet engine, you probably turn it off too quickly.
Modern fans measure power in CFMs and quietness in sones. You want a unit with at least 50 CFMs for small spaces, or one CFM per square foot for larger bathrooms.
Aim for a rating of 1.5 sones or less so the fan runs quietly in the background. When it's quiet, you'll actually leave it running long enough to clear the room.
Venting that humid air directly to the exterior is non-negotiable. Dumping moisture into your attic or crawlspace rots wood framing and ruins insulation.
Your ductwork matters just as much as the fan itself. Rigid metal ducts create less resistance than flexible plastic tubes, helping the fan work efficiently.
Here is a quick look at what you can expect to spend on ventilation upgrades. Prices vary based on labor rates and your home layout.
Item & Ballpark Cost
Standard Fan Replacement
$150 to $300
Quiet High-CFM Fan
$300 to $600
New Duct Run to Exterior
$250 to $800
Common DIY mistakes usually involve taking shortcuts with the exhaust path. People often vent into soffits, which just sucks the moist air right back through the attic vents.
Another classic blunder is using accordion style plastic ducting. Ridges trap water and slow down airflow, creating a fire hazard and a breeding ground for mold.
Building codes are strict about ventilation for a reason. Most local codes require a mechanical exhaust fan if your bathroom doesn't have an operable window.
It's always worth upgrading your ventilation whenever you open up the walls or ceilings. Doing it later means tearing out new drywall and paying twice for labor.
Factor ventilation into your initial budget so you don't get caught off guard. Protecting your investment from water damage keeps your home healthy for years.
9. Bathtub to Shower Conversion Costs
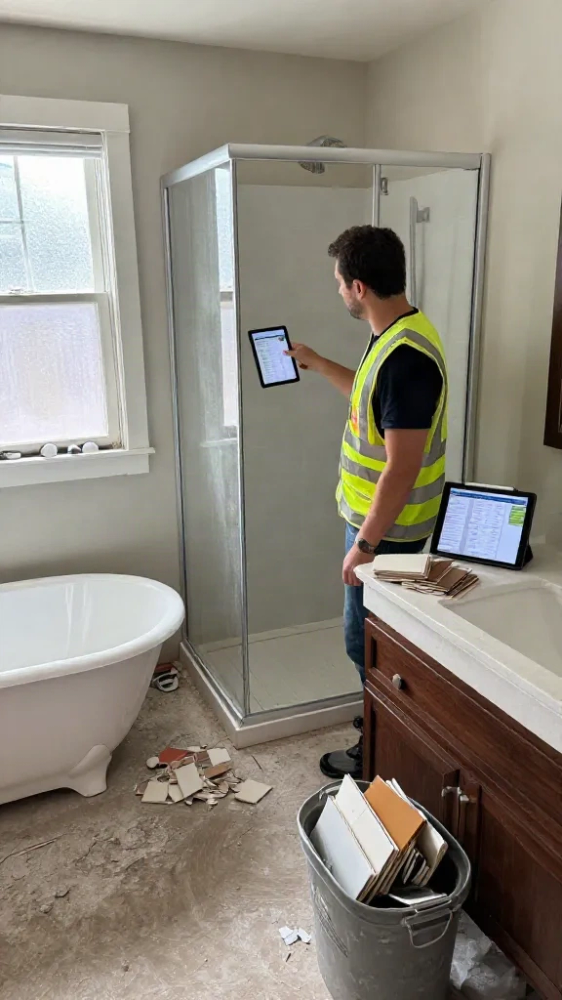
Swapping out an old tub for a walk-in shower is one of the best ways to update a bathroom, but it's definitely a messy project. You're looking at tearing out a heavy steel or cast iron tub, ripping up surrounding wall materials, and hauling all that debris away.
Once the space is open, plumbers have to relocate the drain since tubs drain from the end while showers need center drains. They also have to adjust the mixing valve height in the wall so your new shower controls sit at the right spot.
Next comes the shower floor, where you can choose between a pre-formed acrylic base or a custom tiled pan. Prefab bases are budget-friendly and waterproof, whereas tiled pans take more labor and require careful waterproofing to prevent leaks.
For the walls, waterproof acrylic panels save you money and cleaning time because there's no grout to scrub. Tile looks custom and high-end, but it takes days to install and drives up labor costs.
Glass enclosures finish the space, ranging from cheap tension shower curtains to custom frameless glass doors. Frameless glass looks sleek and modern, but it requires heavy-duty wall anchors and professional installation.
Finishing touches include adding new fixtures, sealing the grout or seams, and patching up any drywall around the opening. These little details take more time than people expect, which adds to the contractor bill.
Here is a quick look at typical price points based on the quality of materials and labor involved in the project.
Project Tier
Typical Cost Range
What's Included
Basic
$3,000 - $5,000
Acrylic surround, prefab base, basic curtain, standard plumbing updates.
Midrange
$6,000 - $10,000
Tile walls, custom mortar pan, semi-frameless glass door, upgraded fixtures.
Upscale
$12,000 - $20,000+
Custom stone tile, linear drain, heavy frameless glass, multiple showerheads.
On the resale side, losing the only tub in the house can hurt if you're selling to families with small kids. However, homes with at least one remaining tub usually see a nice bump in appeal because buyers love updated, spacious showers.
For accessibility, converting a tub is a massive win for aging in place or dealing with mobility issues. Stepping over a low shower curb is much safer than climbing over a high tub wall.
If you want to keep costs down, stick with the existing plumbing layout so you don't pay extra to move drain lines. Choosing acrylic wall panels instead of custom tile will also save you thousands in labor.
10. Smart Toilet and Bidet Additions
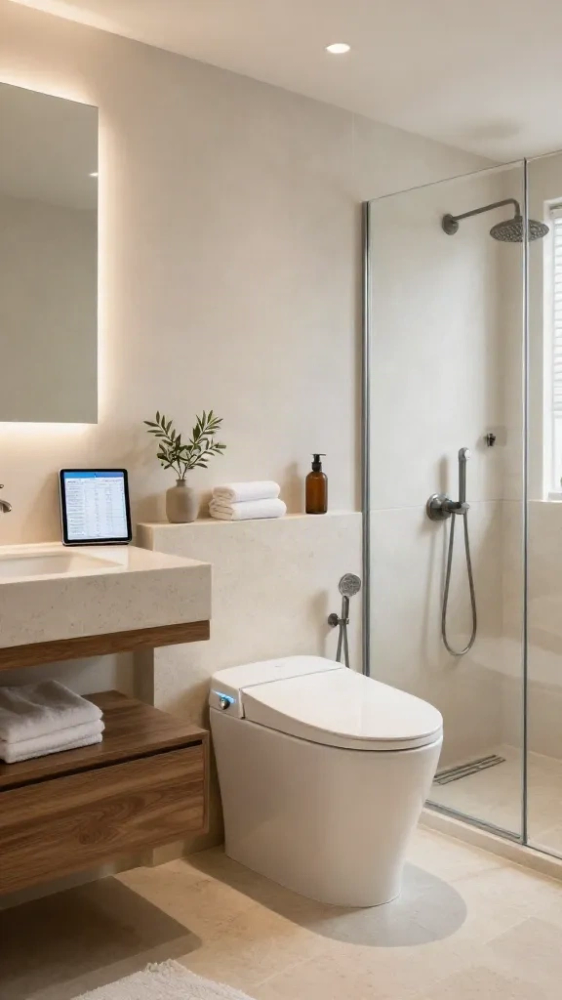
Upgrading your bathroom with smart toilet features or a bidet can completely change your daily routine. You don't realize how much you're missing until you experience a heated seat on a freezing winter morning.
When you start planning a bathroom renovation, you'll need to choose between three main options. Standard toilets just get the job done, while bidet attachments give you washing features without replacing the whole bowl. Full smart toilets combine everything into one sleek unit with integrated plumbing and electronics.
Here is a quick breakdown of how these options compare in price and installation requirements.
Option
Price Range
Electrical Needed
Plumbing Changes
Standard Toilet
$150 - $400
None
Standard supply line
Bidet Attachment
$40 - $150
Optional (for warm water)
T-valve adapter on existing line
Full Smart Toilet
$800 - $3,500+
Dedicated GFCI outlet
Standard supply line
Basic bidet attachments are super affordable and attach to your existing plumbing in about twenty minutes. They use water pressure from your wall, though you'll need an outlet nearby if you want warm water or a heated seat.
Full smart toilets cost a pretty penny, but they offer features you won't get from a standard porcelain bowl. You get warm air dryers, automatic open-and-close lids, and built-in deodorizers that keep the bathroom smelling fresh. Plus, they look incredibly modern and save space since the tank is often hidden or replaced with tankless flushing technology.
Renovation costs jump up quickly when you add a full smart toilet to the mix. Plumbers usually charge standard rates, but you will definitely need an electrician to install a dedicated GFCI outlet near the base of the toilet. If your bathroom doesn't already have electrical wiring in that spot, opening up the wall adds to the labor bill.
From a hygiene standpoint, washing with water beats using dry paper every single time. It feels much cleaner, and it's a huge help for people with mobility issues or medical conditions.
If you're on a tight budget, stick with a simple bidet seat that fits your current toilet. You'll get most of the luxury benefits without spending thousands on a complete fixture replacement.
Go for the full smart toilet if you're doing a total gut renovation and want the ultimate high-end finish. It's a great splurge if you love gadgets and plan to stay in your home for a long time.
11. Permits and Local Inspection Expenses
When you're remodeling a bathroom, budgeting for permits and local inspections is just as important as buying tile and fixtures. You'll usually need specific permits depending on the scope of work, including building permits for moving walls, electrical permits for new lighting, and plumbing permits for shifting pipes.
Cities and counties base their permit fees on different metrics, sometimes charging a flat rate for small projects. Other municipalities calculate the cost based on the total estimated value of the renovation, meaning bigger budgets mean higher fees.
Most bathroom permit packages run anywhere from a hundred to several hundred dollars, though major overhauls can push past that. You also have to factor in the cost of the actual inspection visits, which are usually rolled into the initial permit fee.
Your general contractor will typically handle pulling the necessary permits and scheduling the inspectors. If you're acting as your own general contractor, you'll need to visit your local municipal office and submit the paperwork yourself.
Getting official sign-offs protects your family from hidden safety hazards like faulty wiring or leaking drain lines. Proper inspection records also keep your homeowners insurance valid and prevent major headaches when you decide to sell your house.
Some homeowners think about skipping permits to save money and time, but this gamble usually backfires. If a buyer's inspector finds unpermitted work down the road, you might be forced to tear out finished walls or pay hefty retroactive penalties.
12. Waterproof Wall Backer Board Materials
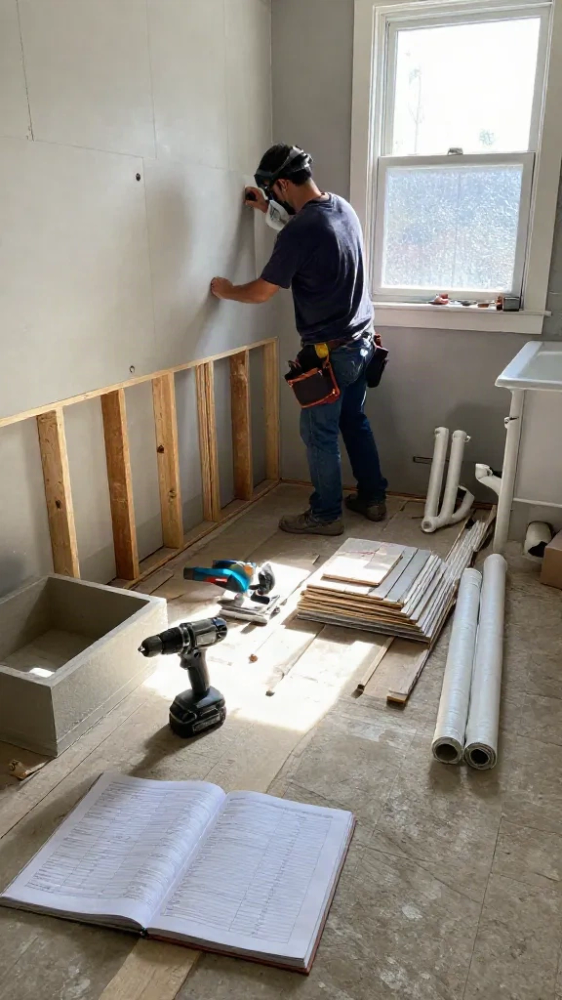
Water damage behind a shower or tub isn't just a minor headache. It can rot your framing, ruin your subfloor, and cause toxic mold that makes your family sick.
That's why the wall backer board you put behind your tile is so important. It acts as a defense system, keeping moisture away from the vulnerable wood studs in your walls.
Without proper waterproofing, grout and tile alone won't stop water. They're porous, meaning moisture eventually seeps through and gets trapped behind the wall where it can't dry out.
Different backer materials handle this moisture differently and affect your budget in unique ways. Here's how the main options stack up against each other.
Material
Material Cost
Labor & Installation
Waterproofing Needed?
Cement Board
Low
Heavy, slow to cut, messy
Yes, requires applied membrane
Foam Panels
High
Lightweight, fast, easy
No, waterproof on its own
Fiber Cement
Moderate
Similar to cement board
Yes, requires applied membrane
Traditional cement board is cheap to buy, but it's heavy and takes longer to install. You also have to spend extra time and money painting on a liquid waterproofing membrane before you can tile.
Foam panels cost a lot more upfront, but they're lightweight and save you hours of labor. Since they're already waterproof out of the box, you just tape the seams and you're ready to go.
Paying extra for high-end foam systems is usually worth it if you want to save your back during installation. They also make sense if you're building a forever home and want zero risk of hidden leaks.
13. Glass Shower Enclosures and Doors
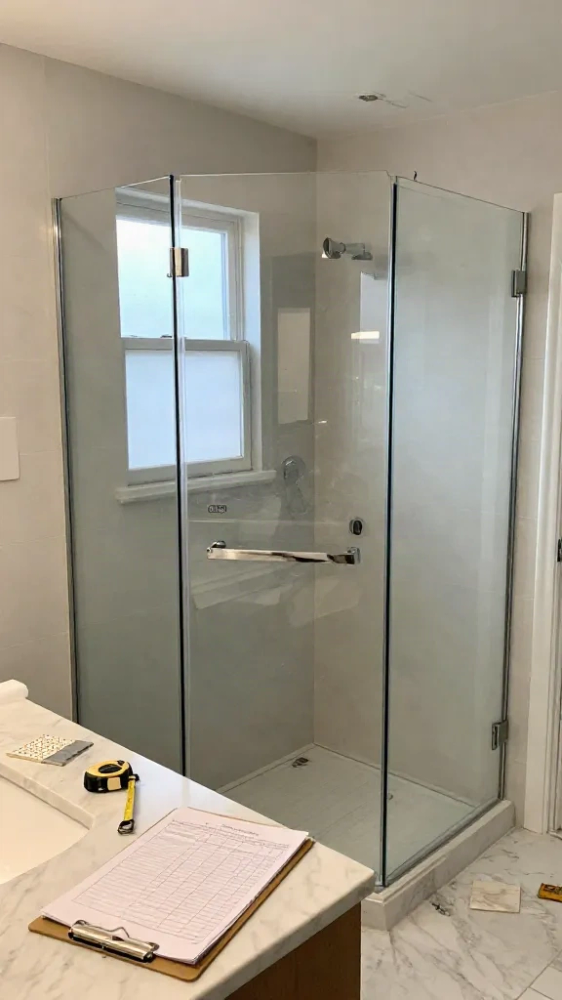
Swapping out an old shower curtain for glass totally changes how a bathroom feels. It makes the whole space look bigger and lets in so much more light.
The biggest cost factor is the amount of metal framing you choose. Framed doors are the cheapest option because they use thinner glass and aluminum tracks. Frameless options cost the most because they require heavy, thick glass and specialized clips.
Here is a quick breakdown of what you can expect to pay for materials and basic installation.
Framed: $300 - $800Easiest setup, uses standard sizes
Semi-Frameless: $750 - $1,500, Metal frame around perimeter only
Frameless: $1,200 - $3,000+Requires professional measurement and install
Door style also impacts your budget and layout. Sliding doors work well in smaller bathrooms where you do not have room for a swinging door. Hinged doors open outward and give a very clean look, but you need enough clearance in front of the shower.
Going with standard sizes saves you a ton of money. If your walls are slightly out of plumb, which is common in older homes, custom glass is your only real fix. Custom cuts cost significantly more because the glass has to be tempered after cutting.
You cannot just screw heavy glass into regular drywall. Contractors have to install wood blocking behind the tile to support heavy frameless doors. Skipping this step leads to sagging doors and cracked tile down the road.
Glass looks amazing on day one, but water spots show up fast. You will want to squeegee the walls after every shower or pay extra for a factory-applied protective coating. Hinges and tracks also collect soap scum, so regular cleaning is part of the deal.
If you are on a tight budget, go with a semi-frameless sliding door to get that modern look without the heavy price tag. Matte black or brushed nickel hardware helps tie the room together nicely. Just spend your money on the glass thickness rather than fancy handles you can easily swap later.
14. Unforeseen Mold and Rot Repairs
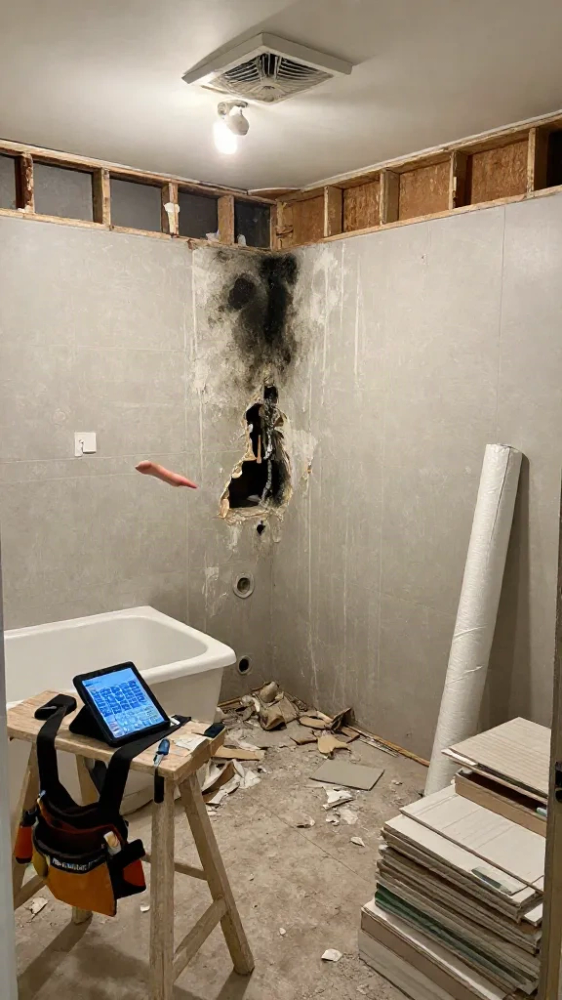
Demo day is exciting, but pulling up old tile often reveals nasty surprises hiding underneath. You might spot black mold or spongy wood where the tub used to sit.
These hidden issues usually stem from years of slow plumbing leaks or missing waterproofing membranes behind the shower walls. Poor bathroom ventilation also traps steam, feeding mold colonies that quietly eat away at your subfloor.
Once you find the damage, the repair process isn't glamorous or fast. Contractors have to tear out rotted drywall and framing studs, then treat the surrounding area with specialized antimicrobial sprays.
If the rot reached the subfloor, carpenters will need to cut out the compromised plywood and reinforce the floor joists. You can't just slap new tile over soft wood, or your brand new floor will eventually crack and sag.
All of this extra work blows right through your original renovation budget. Replacing structural lumber and bringing in mold remediation specialists adds thousands of unexpected dollars to the final bill.
That is why smart homeowners always add a twenty percent contingency fund to their initial estimate. Having that cash cushion keeps you from panicking when the contractor calls with bad news from behind the walls.
You can actually spot a few warning signs before the demolition crew even arrives. Musty smells, warped baseboards, and grout that constantly crumbles are big red flags.
Soft spots near the toilet or tub also hint at water damage lurking beneath the surface. Catching these clues early won't stop the rot, but it will help you mentally prepare for the extra costs.
15. Hardware Knobs Handles and Towel Bars
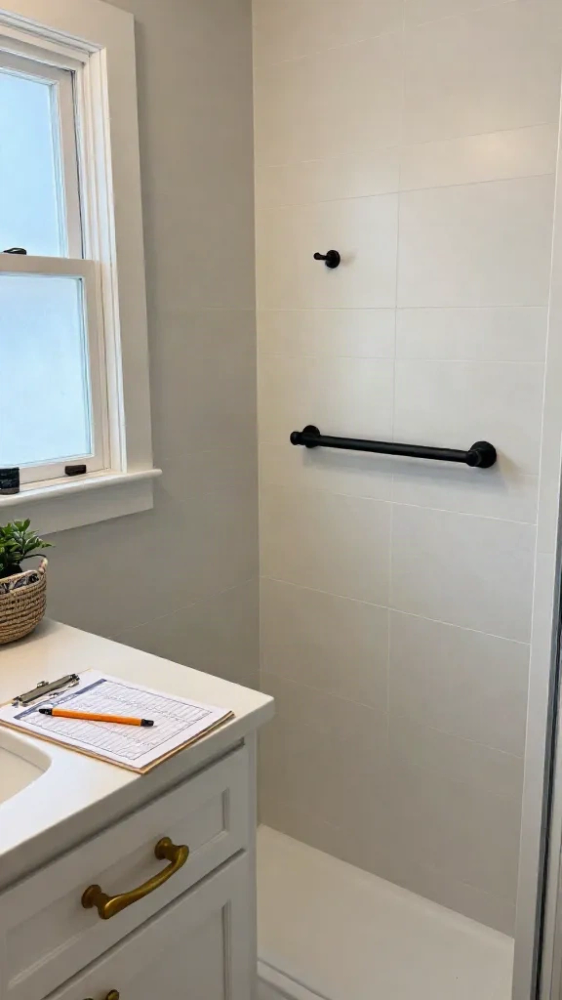
Bathroom hardware might seem like a small detail, but it packs a serious punch in your overall renovation. Think of knobs, pulls, and towel bars as the jewelry for your space, because they instantly catch the eye and set the style tone.
Swapping out basic fixtures for upgraded pieces makes a budget vanity look custom and expensive. It is one of the easiest ways to inject personality into a plain room without spending a fortune.
Hardware quality usually falls into three main categories, starting with builder-grade options. These cheap pieces often feel hollow or lightweight and tend to lose their finish after a year or two of daily use.
Midrange hardware offers solid construction and better weight, usually made from brass or zinc. Designer options feature heavy solid metals, hand-applied finishes, and unique artisan details that make your bathroom stand out.
Tier
Price Range (Per Piece)
Quality & Feel
Builder-Grade
$2 to $5
Lightweight, hollow, prone to chipping
Midrange
$10 to $25
Solid metal, durable finish, reliable weight
Designer
$35 to $100+
Hand-finished, luxury metals, custom designs
The finish you choose ties every single element of the bathroom together. Polished chrome brings a bright, classic look that works well in traditional spaces and wipes clean easily.
Brushed nickel hides water spots like a champ, making it a practical choice for busy family bathrooms. Matte black adds a sharp, modern contrast against white tile, while warm brass brings in a cozy, vintage vibe.
You do not need to buy top-tier designer pieces for every single item to get a luxury look. Splurge on the cabinet knobs and drawer pulls you touch every day, then save a bit on the robe hooks.
Keep the finish consistent across your faucets, shower trim, and hardware to avoid a chaotic visual mess. If you want to mix metals, stick to two complementary tones like matte black and brushed brass to keep things intentional.
Wrapping Up
Planning your upcoming bathroom project can seem daunting but it really isnt that bad when you plan it out. If you need more assistance, check out our calculator here.